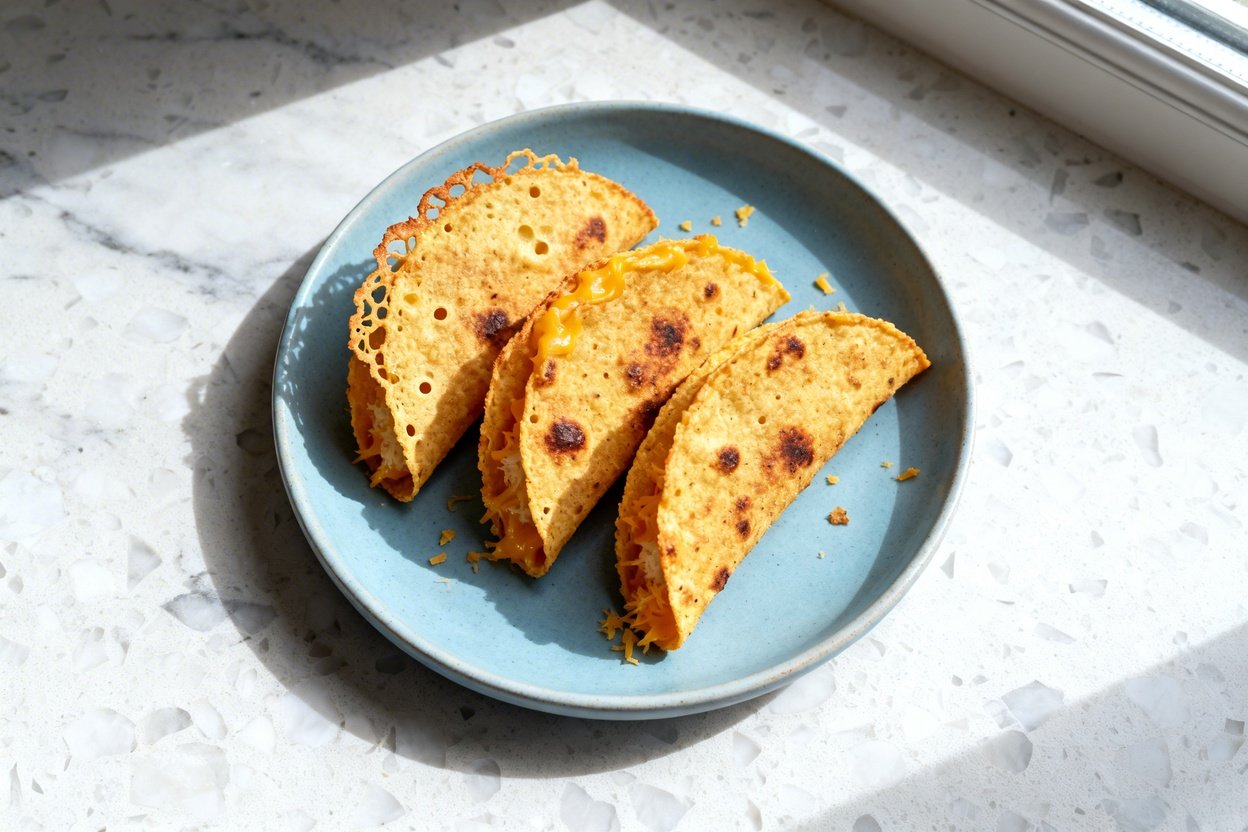
Craving that satisfying crunch on a keto diet? These crispy keto cheese taco shells deliver exactly that — no tortillas required. They bring bold flavor and a sturdy hold for your favorite fillings, ditching the soggy taco salad vibe once and for all.
Why This Recipe Matters

Keto meals often lean soft and saucy, leaving you wishing for a crunchy bite. Enter cheese taco shells: a low-carb, high-flavor solution that’s quick to make (just minutes!), versatile for snacks or dinners, and perfect for busy nights. Naturally keto-friendly, they combine fat and protein with minimal carbs to satisfy your cravings without compromise.
Why These Cheese Shells Are Perfect for Keto
Traditional corn or flour taco shells are delicious carb carriers, but not keto-friendly. Cheese transforms when baked—melting and crisping up to form a perfectly crunchy shell. Once cooled slightly, it’s pliable enough to shape into taco shells that hold fillings beautifully, giving you all the joy of taco night without the carb math.
Key Ingredients and Their Roles
Cheddar Cheese
Melts beautifully and crisps to perfection, especially sharp cheddar which adds a bold flavor punch.
Parmesan Cheese
Adds a nutty, salty crispiness. Mixing it with cheddar optimizes melt and crunch.
Parchment Paper
Prevents sticking, making it easy to lift and shape your cheese discs.
Flavor, Texture, and Satisfaction
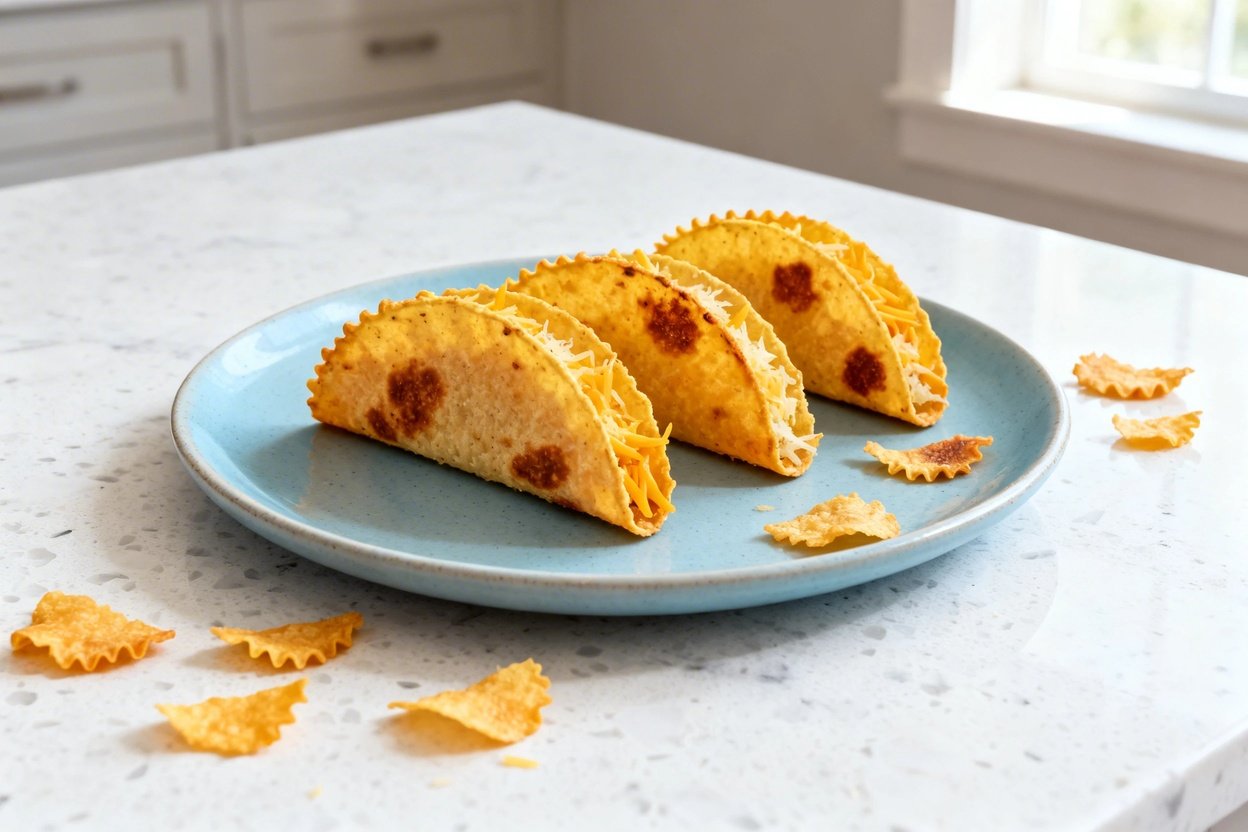
These shells aren’t just acceptable for keto; they’re genuinely delicious. Expect crisp edges, a sturdy bite, and rich, savory cheesy flavor. Plus, pairing your fillings with a crispy cheese shell amps up the overall taste and satisfaction. It’s crunch, fat, and salt—the holy trinity of cravings—perfectly combined.
Pro Tips for Crispy, Not Soggy, Shells
- Shred your own cheese for optimal melting—avoid pre-shredded with starch additives.
- Spread cheese evenly into thin circles to prevent holes or floppy spots.
- Bake by color: look for bubbly, golden edges to ensure crispness.
- Cool shells slightly (30–60 seconds) before shaping over a utensil to form tacos.
- Use fillings with less moisture, adding wet ingredients like salsa just before eating to keep shells crisp.
Meal Prep, Storage, and Reheating
Store cooled shells in an airtight container with parchment paper between layers. Reheat gently in the oven, toaster oven, or air fryer to restore crunch. Avoid microwaving to prevent sogginess.
Serving Suggestions
Weeknight Taco Night
Fill shells with seasoned meats, lettuce, cheese, sour cream, and fresh salsa added last.
Breakfast Tacos
Load with scrambled eggs, bacon or sausage, avocado, and hot sauce for a flavorful morning boost.
Snacks and Appetizers
Make mini shells filled with guacamole, chicken salad, taco dip, or chopped tomatoes with sour cream and jalapeños—fancy yet simple and crowd-pleasing.
Enjoy these crispy keto cheese taco shells as a versatile, low-carb delight that brings crunch back to your meals!

Crispy Keto Cheese Taco Shells
Equipment
- rimmed baking sheet
- Parchment Paper
- box grater or food processor with shredding disc
- cooling rack
- wooden spoon or spatula with handle
Ingredients
Cheese taco shells
- 1 1/2 cups sharp cheddar cheese, freshly shredded
- 1/2 cup grated Parmesan cheese
- 1/4 teaspoon ground black pepper optional
- 1/4 teaspoon garlic powder optional
- nonstick cooking spray or a light brushing of avocado oil for parchment if needed
Instructions
- Preheat the oven to 375°F and line a rimmed baking sheet with parchment paper, lightly misting or brushing the parchment with oil if it is not nonstick.
- In a medium bowl combine the shredded sharp cheddar, grated Parmesan, black pepper, and garlic powder, tossing until the cheeses and seasonings are evenly mixed.
- Spoon the cheese mixture onto the prepared baking sheet in six equal mounds, leaving space between each, and gently spread each mound into a thin, even circle about 4 inches in diameter.
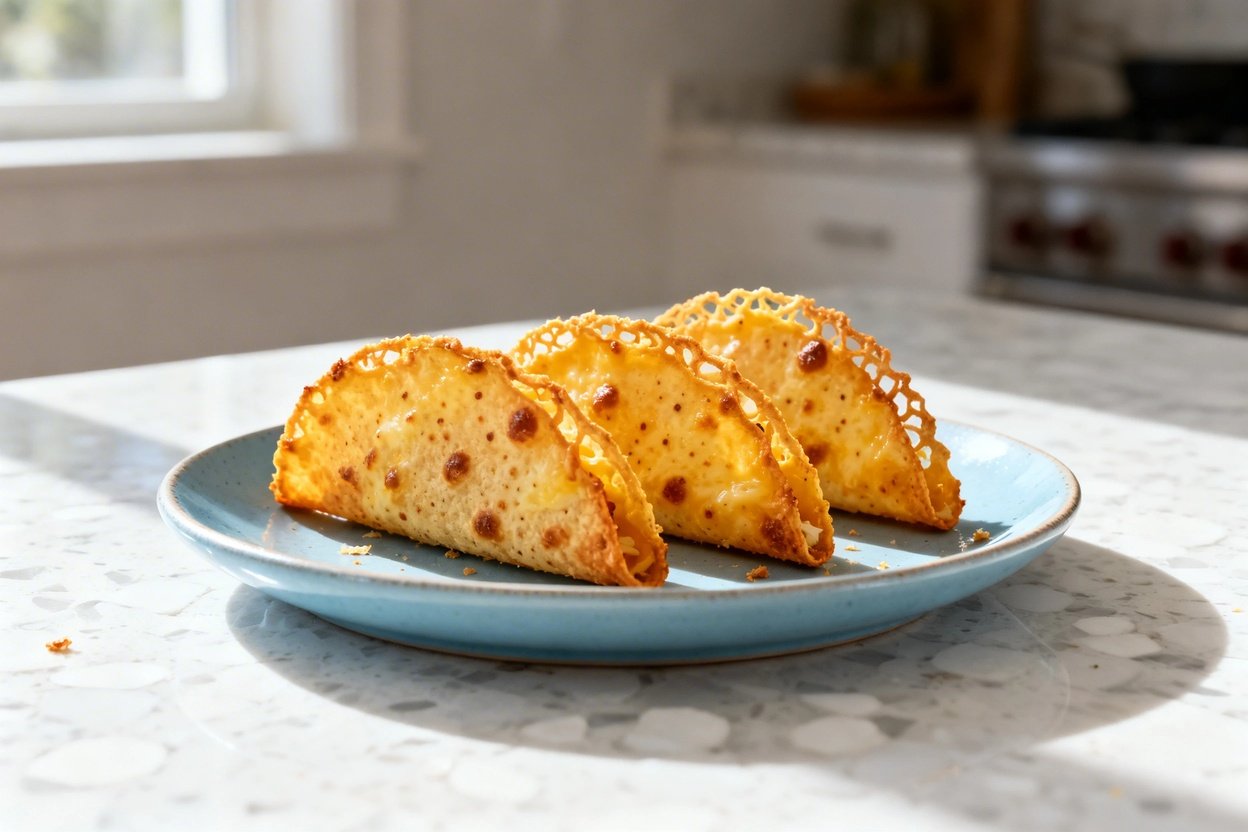
- Bake the cheese rounds for 7 to 10 minutes, watching closely near the end, until the cheese is fully melted, bubbling, and the edges are a deep golden brown.
- Remove the baking sheet from the oven and let the cheese rounds cool on the pan for 30 to 60 seconds until they are firm enough to lift with a spatula but still pliable.
- Carefully lift each warm cheese round with a thin spatula and drape it over the handle of a wooden spoon balanced across a bowl or over the rungs of a cooling rack to form a taco shell shape.
- Allow the cheese taco shells to cool completely in this position until crisp and set, then gently remove and transfer to a plate or airtight container until ready to fill and serve.
Notes
Nutrition